Table of contents:
Key takeaways:
- A simulive webinar is a pre-recorded webinar that broadcasts at a scheduled time, so attendees experience it as a live event.
- To create a simulive webinar, record and edit your session in advance, then upload it to a broadcasting platform like Riverside, Demio, Workcast, or Zoom.
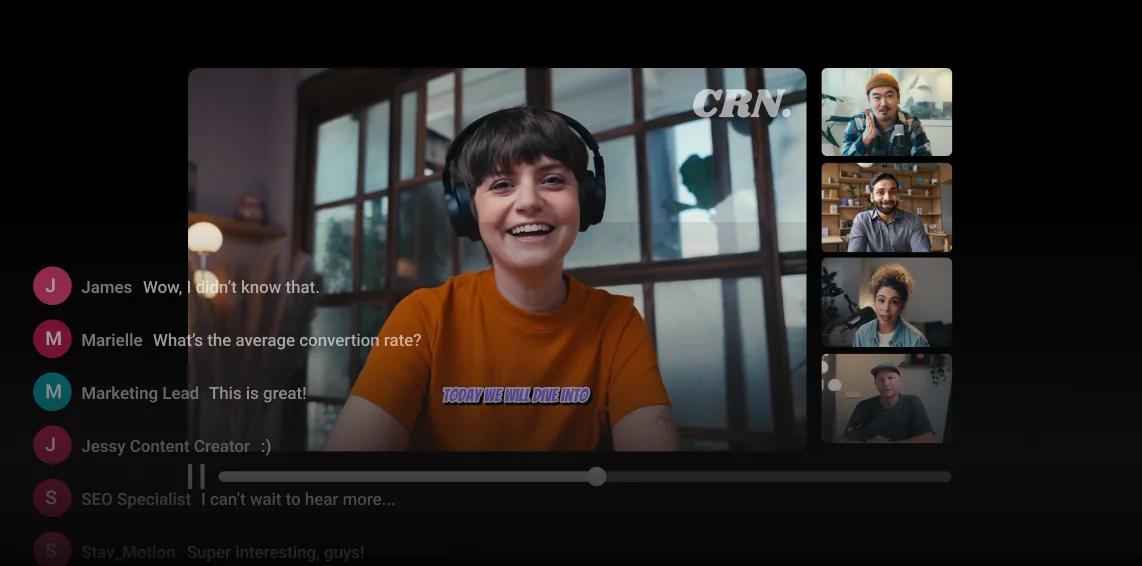
- Attendees register for a time slot, watch together, and interact via live chat, Q&A, and polls, even though the video is pre-recorded.
- For the best recording quality, use Riverside to capture up to 4K video and 48kHz audio before you broadcast anywhere.
Live webinars are high-pressure. You're managing slides, tech problems, and attendee questions all at once.
Simulated live webinars work differently. You record your session in advance and broadcast it at a scheduled time. Attendees show up, watch together, and interact via live chat, Q&A, and polls.
This guide covers how simulive webinars work, how they compare to live and on-demand formats, and how to record and run one yourself.
What is a simulive webinar?
A simulive webinar is a pre-recorded video webinar that broadcasts at a scheduled time, so attendees experience it as a live event.
How does this differ from other types of streaming webinars? In simple terms:
- A live webinar happens in real time with no editing.
- On-demand content sits waiting for viewers to find it.
- A simulive is pre-recorded and edited, then broadcast at a fixed time that attendees register for and interact with as it plays.
How does a simulive webinar work?
The process looks like this:
- Record your webinar in advance.
- Edit the footage (cutting mistakes, tightening pacing, adding captions etc).
- Upload the final video to a simulive platform.
- Create a registration page so attendees can sign up for a scheduled broadcast.
- Run the event. The video plays automatically at the scheduled time while you manage live chat and Q&A.
Pros and cons of a simulive webinar
Before you invest in simulated live webinars, here are the most important pros and cons to consider:
Pros
- You can edit out mistakes, awkward pauses, and tech issues before anyone sees the final video.
- You can broadcast the recording multiple times across different time zones without presenting again.
- Attendees get a live, interactive webinar experience with real-time chat, Q&A, and polls.
- Simulive webinars work well for evergreen topics, so you can broadcast repeatedly without re-recording.
Cons
- You can't respond to audience questions live on screen, which some attendees may notice, potentially breaking immersion.
- Simulive-capable platforms typically cost more than basic webinar tools.
- Content that goes out of date quickly will need re-recording more often than a live format would.
What equipment do you need for a simulive webinar?
Here’s a quick look at what you need to stream a simulated webinar:
Equipment
You can get away with recording a webinar using a computer alone. But for the best quality, we recommend equipping yourself with:
- Camera(s). Get a camera that can record in HD (see our guide on the best cameras for streaming to help you decide). If you can’t stretch your budget, you can always use your smartphone.
- Microphone. An external mic is absolutely essential for recording high-quality audio. Read our microphone guide to narrow down your options.
- Headphones. Headphones are important for optimizing the quality of your audio and minimizing echo. Read our headphone guide to find the best fit for your needs.

If your budget allows, buy a second webinar equipment kit and ship it to your remote guest before the session. That way, their recording quality matches yours.
Simulive webinar software
With a live webinar, you can lean on the energy of a real-time broadcast to carry you through a rough recording. However, a simulated live webinar has to stand on its own, and audiences expect quality.
Choosing the best webinar software is vital. And for simulive webinars, you may need two platforms: one to record your session, and one to broadcast it.
Recording software
Riverside’s local recording means your video quality stays at 4K and 48kHz audio regardless of any Wi-Fi hiccups. Everyone on the call records to their own individual audio and video tracks as well, making editing much cleaner.
And, there’s a built-in video editor to trim mistakes, clean up audio, and add captions before you export the final file.
Broadcasting software
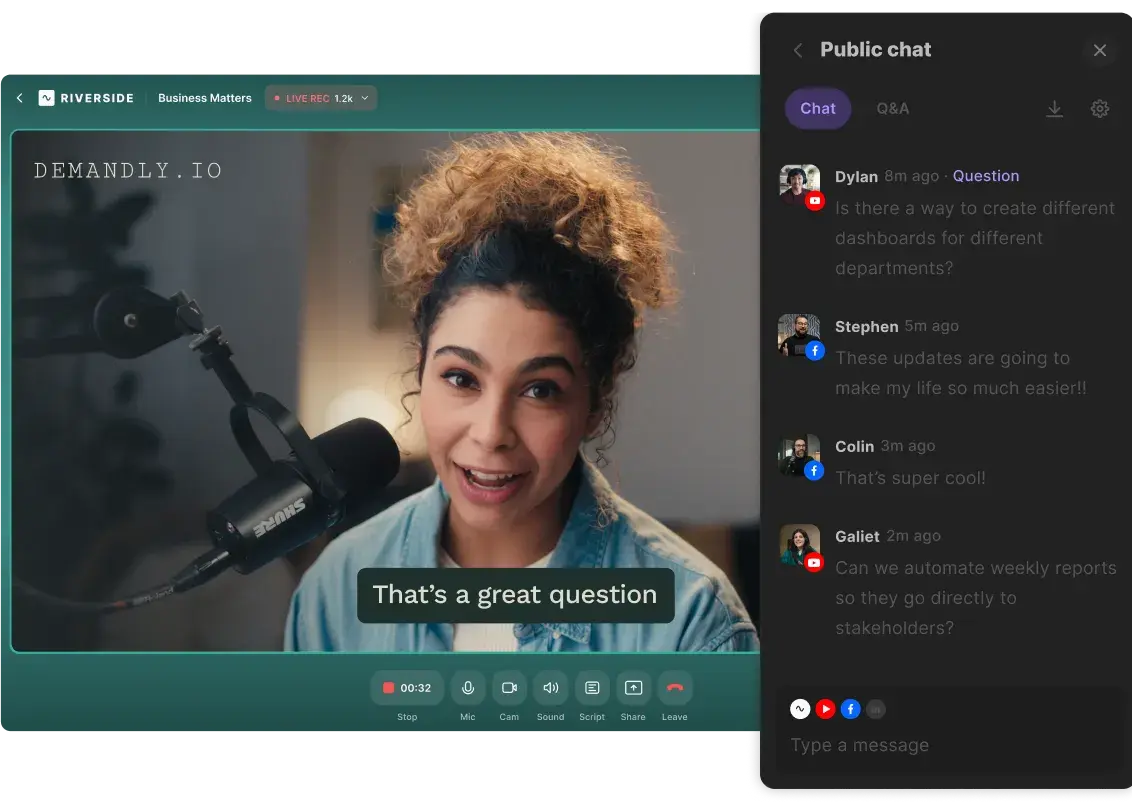
When your video is ready, you'll need a platform that can- broadcast it at a scheduled time with live interaction tools like chat, Q&A, and polls. Below are a few common options.
- Riverside allows you to schedule pre-recorded content and play it like a live session.
- Demio supports automated webinar broadcasts with live engagement tools.
- Workcast lets you add a live introduction, polls, and discussions around your pre-recorded video.
- Webex Events runs simulives alongside live and on-demand formats.
- Zoom’s webinar product supports simulive broadcasts.
The best platform depends on your audience size, budget, and how much interaction you want to have.
Tip: Most hosts also connect their webinar platform to a CRM like HubSpot or ActiveCampaign to automate follow-up emails and segment attendees after the broadcast. You can also do this inside Riverside with the registration feature.
How to host a simulive webinar with Riverside
Creating a simulive is much the same as planning a standard webinar. Before we get to the individual steps:
- Write a clear webinar outline to organize your thoughts and goals.
- Be conscious that you’re recording the session with the intention for it to be evergreen content.
- Avoid making references to specific events or details that may make the content feel outdated.
Now, let’s get into how you can create and broadcast your simulive webinar using Riverside.
Step 1: Log into your account and create your studio
Create a new Riverside account or log into an existing one.
Navigate to the “Projects” tab in the left-hand panel. Then, click the “+ New” button to create a new project.

Step 2: Schedule or record your session
Click either “Record” to record now, or “Schedule” to schedule a future recording session.
.webp)
If you choose to schedule it, you will then find your session under “Projects” and click “Start Session” when you’re ready to record.
Step 3: Invite your guests
To invite your guest speakers, click on the three-dotted menu in your project panel and select “Copy share link.”
Note: You can also get more flexibility via asynchronous recording if you're on a Riverside Business plan. This means you can invite guests to record their segment of your simulive at a time that’s convenient for them.
.webp)
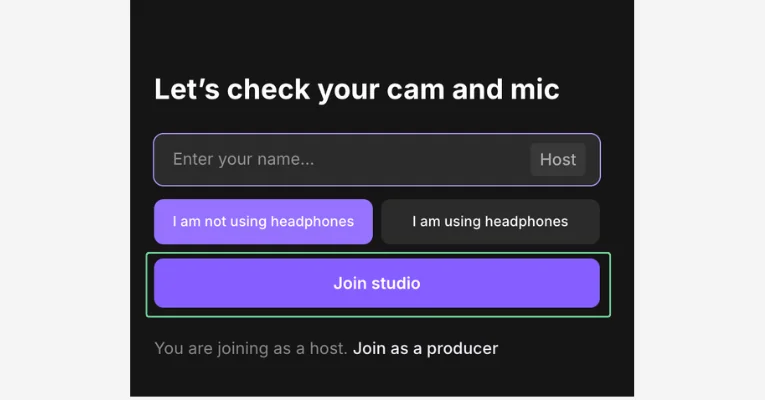
Step 4: Join the studio
Click the “Record” button below the project name (the recording will not begin just yet).
You’ll land in the lobby where you can check your appearance and ensure the correct equipment is selected. When you’re ready click “Join Studio.”
Step 5: Add your script and branding
You can upload a script using the teleprompter feature. This helps you stay organized without having to look off-screen.
Click on the “Script” tool in the bottom toolbar and then select “Teleprompter.”
You can also upload a webinar presentation by selecting the “Share” button, then “Presentation.”
.webp)
You can also match your webinar branding to your business by pressing the “Brand” icon on the right-hand sidebar.

Step 6: Start recording
When you’re ready, hit the red “Record” button to start your webinar recording.
During your recording, you can share your screen, upload a presentation, invite your attendees to speak with live call-ins, or launch polls and Q&As.

Step 7: End your recording
When you’re done, click the red button to end the session for everybody. You’ll land back in your dashboard where you’ll see your recordings.
Step 8: Edit your webinar
Next up, it’s time to polish your webinar. Editing your recording isn’t just about eliminating mistakes; it’s also about maximizing the webinar’s value for viewers and your brand.
To begin editing, you can either download your recording by clicking the ‘Download’ button, or go to the video editor by clicking the three dots and then ‘Edit’.
In the video editor, you can:
- Trim your recording using text-based editing or our color-coded editing timeline.
- Touch up your audio with our AI audio enhancement tools.
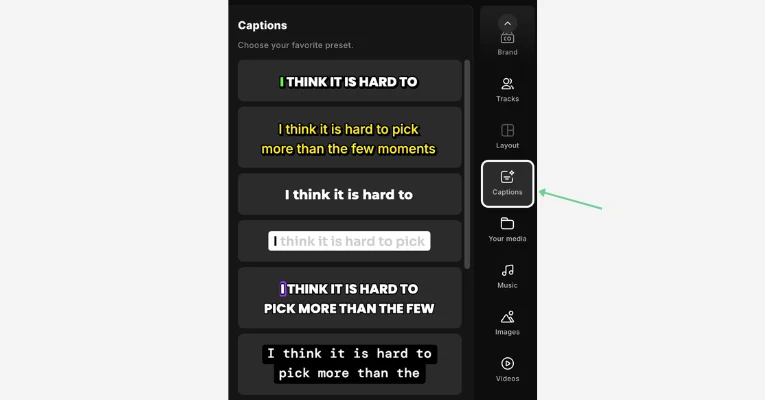
- Add captions choosing the font, size, and color you prefer.
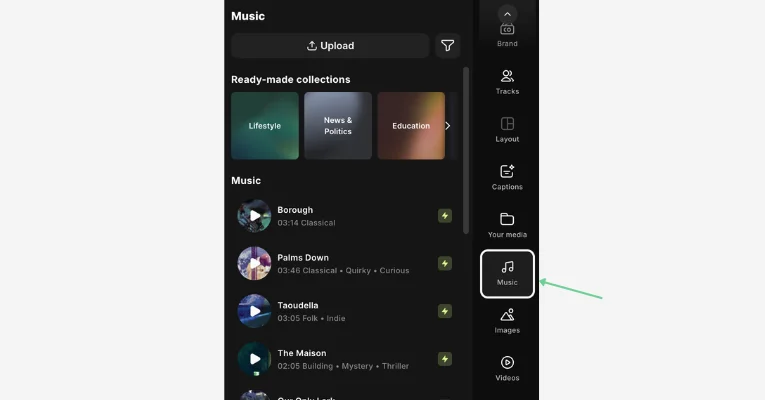
- Add background music from our library.
- Customize your layout with backgrounds, images, and text.
- Create short clips using our AI-driven Magic Clips feature.
- Repurpose your content fast using our AI-powered Co-Creator.
You can also download AI transcripts or AI summaries, which include key takeaways and title suggestions.
Step 9: Schedule your video
Now that you have a polished webinar, you’re ready for the “simulive” aspect.
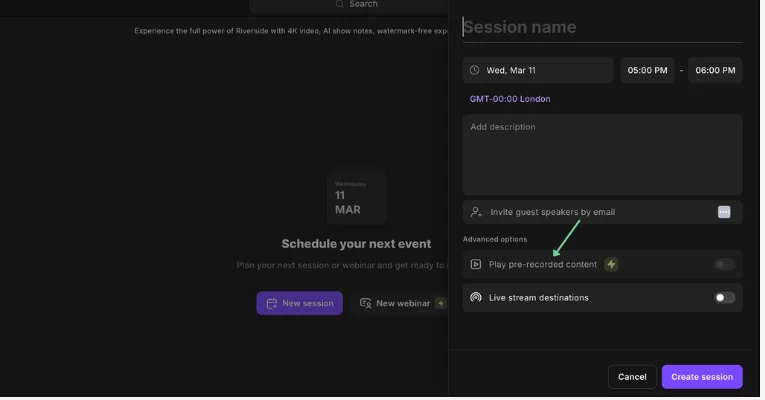
Click the “Schedule” icon and click “New session.” Then, fill out the details of your session.
Toggle on “Play pre-recorded content” and either designate a previously exported edit or upload new files.
Finally, click “Create session.”
You can then copy the registration link to share with your attendees.
Step 10: Host your session
When it’s time for your simulive webinar to stream to registrants, go to your studio, and click “Schedule” in the left-hand sidebar.
Hover over your scheduled event, click “Join studio,” then hit “Go live.”
Tips for hosting a successful simulive event
Here are some tips for hosting an effective simulive webinar:
Record a polished presentation
Pre-recording gives you the chance to get it right before anyone watches. Sort your lighting, mic, and framing before you hit record.
Use Riverside's editor to cut dead air, remove any filler words, and tighten the pacing. The finished video should feel professional and polished.
Be present in chat during the broadcast
You may not be hosting live, but you need to be present. Monitor chat throughout the broadcast, answer questions as they come in, and respond to comments in real-time.
Attendees shouldn't be able to tell the difference between this and a live session.
Plan engagement moments
You don’t want to lose your audience. Build interaction into the broadcast before it goes live.
Schedule the following:
- Interactive polls.
- Q&A prompts.
- Chat questions.
Most platforms let you set these up in advance so they trigger automatically at the right time.
Promote it like a live event
Treat your simulated webinar like a live event. That means you should:
- Send a proper invitation.
- Follow up with reminder emails.
- Add a calendar hold.
- Promote it on social media.
Whether it’s a paid webinar or free, remember that scarcity drives results. Make your webinar feel exclusive by limiting its capacity or emphasizing that there won’t be replays.
Prepare for technical transitions
If your session includes a live intro, mid-session Q&A, or a host segment alongside the pre-recorded video, rehearse the handoffs. Practice switching between each segment so nothing stalls when you're live.
Follow up after the webinar
Send a follow-up email with the replay link, key takeaways, and answers to any questions you didn't get to. Include a clear next step (e.g., a relevant offer, resource, booking link).
Run the webinar multiple times
One recording can do a lot of work. Schedule the video across multiple time zones, run sessions at regular intervals, and/or test different CTAs on different audiences.
FAQs about simulated live webinars
How do I host a simulive webinar?
To host a simulive webinar, upload your pre-recorded video to a simulive platform, schedule a broadcast time, and manage the live chat and Q&A while the video plays.
Here's what to do on the day:
- Start the broadcast. Log in before attendees arrive and launch the session on time.
- Monitor chat. Watch for questions and comments and respond in real time.
- Trigger engagement tools. Launch polls, Q&A prompts, or chat questions at the right moments. Note: some platforms do this automatically.
- Close the session. Wrap up with a verbal or on-screen call to action.
What is a good show-up rate for a webinar?
A good show-up rate for a webinar is between 30% and 40% of registered attendees.
That means: If 100 people register to attend, expect between 30 and 40 to show up.
What is a good length for a webinar?
A good webinar length is between 45 and 60 minutes.
Simulated webinars should be roughly 30 to 45 minutes so you can reserve the final 10 to 15 minutes for a live Q&A segment.
How can I increase engagement during a simulive webinar?
You can increase engagement during a simulive webinar by combining pre-planned interaction tools with an active host present throughout the broadcast.


.webp)
.webp)
-Event.png)